- On sale!
- -£1.00
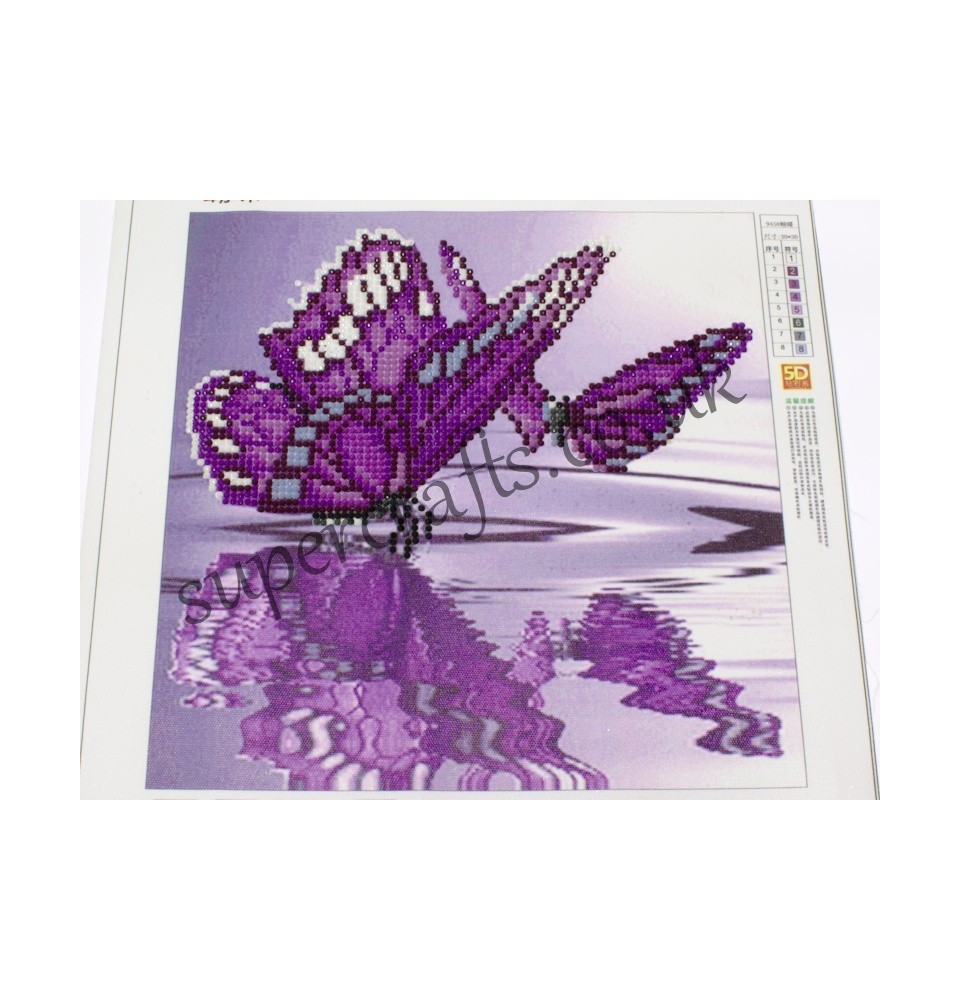
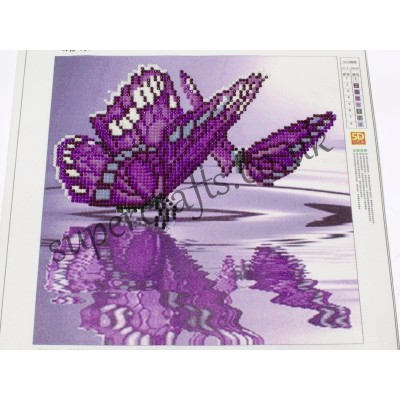
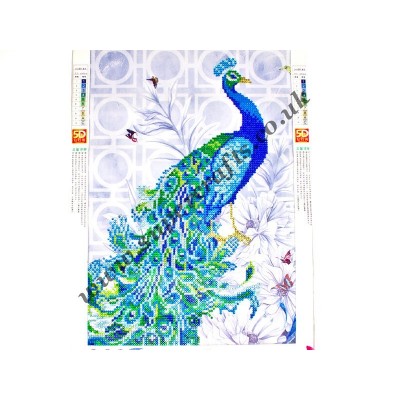
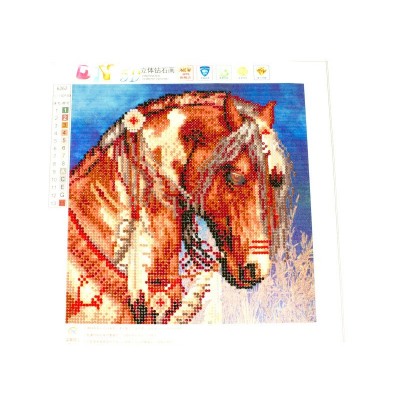
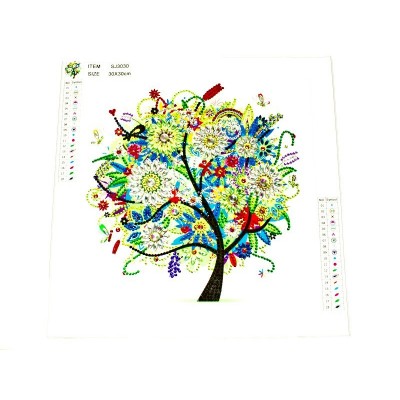
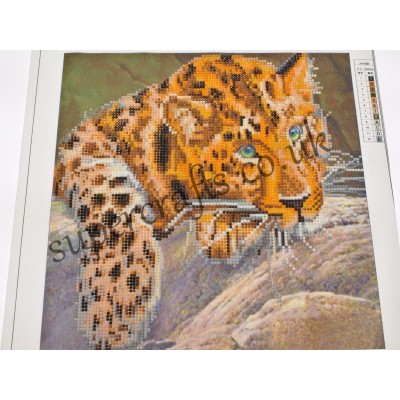
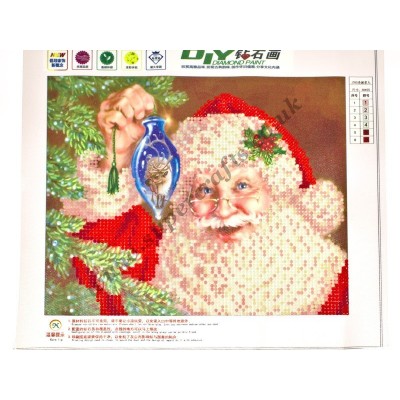
This diamond painting kit depicts a beautiful purple butterfly. This kit is partially covered with “diamonds", so is great as your first attempt if diamond painting is new to you as it comes together fairly quickly. The kit comes with everything you need to create a stunning diamond painted picture for framing. These are great for decoration and make fabulous gifts.
This diamond painting kit depicts a beautiful purple butterfly. This kit is partially covered with “diamonds", so is great as your first attempt if diamond painting is new to you as it comes together fairly quickly. The kit comes with everything you need to create a stunning diamond painted picture for framing. These are great for decoration and make fabulous gifts.
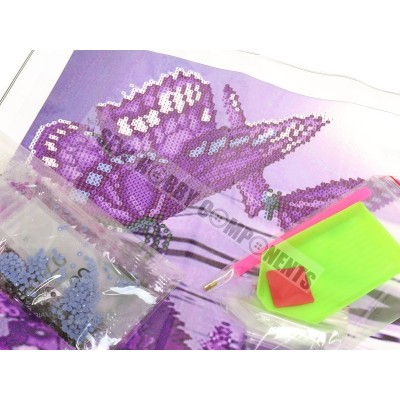
Each set includes the following items:
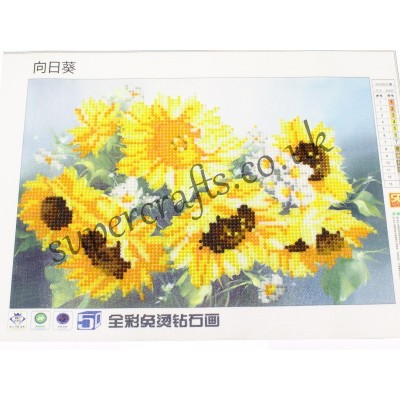
Pre-glued fabric (covered with a layer of film to maintain adhesion whilst you work). (30x30cm with a finished area of 25x25cm)
Diamond Tray
Pick-up Pen
Wax
Diamonds (quantity of bags is determined by the amount of colours in the design)
Instructions:
Lay out the bags of diamonds and double-check that each colour is there. There is a key on the side of the fabric that shows you which symbol/number/letter corresponds to which colour.
Take the smaller end of the pen and poke it into the wax square (you'll need to peel bag the plastic first). The pen is primed and ready to use when you can see the wax in the end.
Now decide where to start. If you're right handed, we suggest starting in the bottom right corner. If you're left handed, start bottom left. Doing this means you're less likely to keep touching the glued fabric - this helps to maintain it's adhesion.
Once you've figured out where to start, simply peel back a little of the film and start placing the relevant diamonds in place.
Once you've completed that section, lift a little more film and continue until you've applied all the diamonds.
Lay the film back over the finished image and place a few books (or something else that's heavy) on top and leave it for a couple of days to flatten out. This will also help the diamonds to adhere properly.
Then go ahead and frame it as required!
TIPS:
If you're working from the supplied tray but the diamonds are sat the wrong way up, just give the edge of the tray a little nudge and it will eventually turn them the right way around. Some people will tell you to take the time to turn them all over before you start, for us this was just too time-consuming. When you want to work on one of these, you want to see things happening right away!
Only remove the plastic covering as you work. Don't be tempted to remove the entire thing as it will inevitably lead to a less sticky (and slightly fuzzy from all the dust it will collect) surface.
Do NOT iron the fabric or put it in the washer or a dryer. If you need to clean any part of it, use a cool, damp cloth. Don't scrub it! Just wipe it lightly.
When framing, remove the glass as it can dull the sparkle given off by the diamonds.
Better still, if you can sew, create a wall hanging instead! Simply take a fabric that coordinates well with the image and sew a border around it. If you do this, be sure to leave a little extra on the top border to create a hanging rod pocket.
Specific References
This diamond painting kit depicts a beautiful purple butterfly. This kit is partially covered with “diamonds", so is great as your first attempt if diamond painting is new to you as it comes together fairly quickly. The kit comes with everything you need to create a stunning diamond painted picture for framing. These are great for decoration and make fabulous gifts.